Dosa!

I love dosa. I think I might go out to Swad and get some dosa later. I just think I could over-dosa on this delicious gluten-free flatbread from India.

Dosa, Basically

Dosa is made from ground urid dal (a white legume) and ground rice. Some methi seeds (fenugreek) are added for flavor. The blend is mixed with water and left to ferment, which gives it more flavor. The batter is spread thinly and cooked to crispy, golden-brown-and-delicious perfection. If you’re in Austin, I recommend the aforementioned Swad (up North) or Nomad Dosa (South). Then, make it yourself.

Below: Chanha dal, soaking. We used this to make a thicker dosa.

20120701-111445.jpg

One of our recipes called for fresh coconut water AND we had a recipe to make a chutney from fresh coconut shreds. So, Chef Maya showed us how to open a mature coconut. Up to this point, we’ve only worked with young coconuts, which are relatively easy to hack open with a cleaver or even a regular chef knife. Mature coconuts required a bit more force, however…

Step one is to drive a pointed object into the coconut so you can drain the water.

20120701-111457.jpg

Below: Chef Maya about to pierce the coconut with a screwdriver.

20120701-111514.jpgBelow: Draining the coconut.

20120701-111528.jpg

Below: You have to smash up the mature coconut to get at the white fleshy part.

20120703-201229.jpg

Below: Making a perfect dosa takes some skill as the batter lacks gluten to make it stick together. I’m still working on my technique…

20120701-111545.jpg

Below: A fresh dosa with yummy chutney and savory potatoes. Welcome to yummytown!

20120701-111602.jpg

Tempura

Tempura anyone?

Crunchy, warm, moist, salty – tempura has all of these features. No wonder we love tempura in America. It just occurred to me that it might be a great way to get finicky kids to try vegetables – tempura vegetables are extremely tasty, especially broccoli.

So what is tempura? In short, battered and deep fried food. Typically made with wheat flour, it can be made gluten free, such as we did in our lab class. You also need a substance to give the flour lightness. This is usually accomplished with beer, bubbly water, or baking powder. These substances create gas in the dough which creates air pockets that give the resulting batter a light feel.

To make tempura batter, just combine equal parts flour and beer/sparkling water. Also add a couple of tablespoons of a thickening powder such as arrowroot or kuzu (cornstarch could be used, but it’s often genetically modified).

Below: Non alcoholic beer was used, so we couldn’t be tempted. 🙂

20120611-204301.jpg

You can tempura almost anything, but vegetables are terrific. You want your pieces to be cut thinly without being flimsy. You don’t want the vegetable to be overwhelmed by Continue reading

Iron Chef – Natural Epicurean Style

Today we got a double dose of labs – normally each day of class consists of a half-day of lecture/demonstration and a half-day of cooking lab. Wednesday we got two lab sessions – woo!

Lab 1: Tomatoes and Peppers

Tomatoes and/or peppers are elemental foods in multiple cultures: Italian, Mexican, Thai, Korean, etc. Filled with fiber, several vitamins and minerals (notably, vitamin C, vitamin A, and beta-carotene), and antioxidants, peppers and tomatoes are nutritious and delicious. Their color and heat are clues to some of their nutritive properties – antioxidants are often most prevalent in brightly colored vegetables and fruits.

Below: A wide array of shapes and colors were presented in our selection of peppers. At the bottom, habanero peppers and just to the right of that, ghost chiles – the hottest chiles I am aware of. 

20120328-201748.jpg

Continue reading

Getting Fruity

Fruits Lab

Lab on Monday required us to cook through several recipes using fruit. Of course, we have cooked with fruit before (during Wet Cooking Methods, for example), and we’ll cook with it again. But when we have a lab session, our goal is to focus on a specific food or technique. Therefore, we will get multiple chances to repeat techniques and to work with certain types of food.

A great example is how we worked with fruit on Monday: we fried plantains, grilled bananas, poached pears, and boiled apples. Several different methods organized under one theme – fruit.

Below: Some lovely ripe Anjou pears (reddish) and Bosc pears (yellowish with a twinge of brown). An apple, some berries, and all types of fruit.

20120327-082039.jpg

20120327-082102.jpg

Below: Apple-ginger chutney with bread. 

20120327-082109.jpg

Below: Poached Anjou pears with vegan yogurt, berries, and crumbled ginger snaps. Pear peel was used to create the ribbon designs around the stems.

20120327-082132.jpg

Below: Poached Bosc pears. The cinnamon-anise poaching liquid was reduced to a syrup and golden raisins were added. It’s common in lab for more than one team to make the same recipe, as with this dish and the one above. Often, the teams will receive slightly different instructions for demonstration purposes. 

20120327-082141.jpg

Below: A festival of fruit!

20120327-082151.jpg

Extracurricular Activities

We are moving so quickly through our curriculum – time is really flying. I’m learning a lot but it’s going by fast. To support my learning, I cook at home, and I’ve started partnering with a fellow student to cook together once a week. Also, I’m trying to take advantage of opportunities to explore new and good food. In the spirit of Jiro Ono (see blog post on Jiro Dreams of Sushi), I’ve also decided that I am done with so-so food.

Until now, I’ve been satisfied with occasionally eating what was handy or convenient, even though it was bland or uninteresting. I’ve committed to all but eliminate those instances in an effort to expose myself to as much good food as possible. It’s all with the goal of becoming the best cook I can be and taking advantage of this time I have in culinary school.

Seeds, Seitan and Nuts

Thursday we got to work with seitan, sunflower seeds, and walnuts, making vegan versions of several non-vegan dishes (1) fettuccine (2) mayonnaise (3) pesto and a handful of others.

Seitan

Seitan is a dense, chewy brown colored mass of wheat protein – otherwise known as gluten. Gluten has become a very well-known word in America, although people still don’t understand what it is. At The Natural Epicurean, we are going to be making our own seitan in a future session, but I can tell you it is made from wheat that is ground into a flour and then rinsed and wrought until the starches are washed away and the gluten only remains. What you’re left with is seitan – it’s thick, and it closely resembles meat because of it’s density and chewiness. However, since I am gluten sensitive, seitan was a no-no for me. I did cook with it, but I just didn’t eat any.

Below: Seitan fettuccine. 

20120316-220522.jpg

Below: Sun cheese, made from soaked sunflower seeds. Sun cheese tastes pretty dang good! And nice presentation! Lemon juice adds some of the tangy flavor that you usually get with cheese. A Vita Mix helps it get nice and creamy. All four teams made sun cheese so we got to compare final products and discuss.  

20120316-220528.jpg

Below: Cilantro/parsley pesto with pumpkin seeds instead of pinenuts. I plated this dish and I love the red clay bowl against the green pesto. The yellow lemon zest was a lovely addition, also.

20120316-220535.jpg

20120316-220604.jpg

Below: Wild rice stir fry with walnuts.

20120316-220612.jpg

Below: Sun cheese and pesto.

20120316-220619.jpg

Below: Seitan saute. The sauce was delicious.

20120316-220627.jpg

Tour of The Natural Epicurean Kitchen

Howdy, folks!

It’s been 4 weeks since I began culinary school at The Natural Epicurean and I figured that I would show my family, friends, and blog readers what it looks like in the kitchen where I am spending my time!

A couple of other notes to address questions that have come in:

There are four stove tops in the kitchen. I have never had to wait to use a stove since there are plenty of burners. Occasionally, just as in a restaurant kitchen, we have to work with our colleagues to move a saucepan to another burner to make space for a new pan, but that is part of the cooking process – working with our colleagues to get the job done.

There are four stations in the kitchen for students, and two instructor stations. Each station is stocked with a food processor and all of the cookware and utensils you need to prepare a given dish. There are two Vita Mixes in the kitchen and I haven’t seen us need more than that.

Food dehydrators, as seen in the video, are “cooking” devices which operate at very low (100-118 degrees or so) temperatures and for long periods of time (up to several hours or more). The dehydrating process has minimal impact on the enzymatic composition of the food and its nutrient profile, while altering the texture slightly. Dehydrated eggplant slices, for example, are very crispy and make a nice sandwich filling. The dehydrators are Excalibur models and I don’t know much about them, but I look forward to finding out more very soon!

There are about 12 students in the lab kitchen at any given time – three in each sub group. The sub-groups (or teams) rotate each week. When in the lab kitchen, I work with two other students on preparing 2 to 4 recipes. At the end of the lab, we all taste the food and share comments on it. When the lab session is over, we move to the demo kitchen. The students who were in the demo kitchen switch to the lab kitchen.

I’ll be making more videos to explore the kitchen in more detail in the future, so stay tuned!

Week 4 of 22 Begins

Okay, I’m not exactly sure how many total weeks I have, but 22 is pretty close. And time keeps ticking away!

Career Reflection Moment

A lot of folks in the program are very interested not only in cooking, but in helping others. So, the career of personal chef is a popular choice. It certainly has appeal for me, too. The idea of helping someone think through food issues on their way to feeling better is an amazing thing to be able to do each day. I’d much prefer that to selling insurance or writing clever ads or doing soil measurements. I’d also prefer it to hiring, firing, compensating, and training people, which is what I was doing in my last career. Not bad work, but the sense of a higher mission was really hard to grasp most days.

Beans

Beans are terrific little powerhouses of carbs, proteins, and fats. Add fiber and lots of nutrients, and it all makes beans are incredible useful things to incorporate into your daily diet if you can. And if you can take dried, bulk beans and turn them into creamy masterpieces, then you’re saving money, having fun, and putting good energy into your food, as well.

Below: Lotsa beans to choose from in this life.

20120312-222131.jpg

20120312-222138.jpg

Below: Not a lot of action in this week’s blog post, but here are the delicious results of Monday’s cooking. Tomorrow, we turn this into hummus (chickpeas) and black bean patties.

20120312-222144.jpg

Butternut Squash Braise…and Soup…and Seeds

Chef Rosa showed us a delicious recipe for braised squash last week and I tried it twice at home with poor results. I spoke with her and decided to try once again…

Braised Squash

Braising is a method of slow cooking a tougher food product until it softens, but it’s done without using a lot of liquid, which could dilute the flavors. You need to use a moderately high temperature and cover the cooking vessel so that the liquid doesn’t evaporate. In this case, I used a cast iron, enameled skillet with a very heavy lid.

Below: The victim.

20120309-181906.jpg

Below: Applying dry heat to your ingredients before cooking is a key step in a lot of recipes. This could mean toasting spices or browning tofu or darkening up your vegetables — in a hot oven, a dry saucepan, or an oiled skillet. In this case, browning the squash and apples concentrates some of the flavor into a fond, the dark bits at the bottom of a pan. And what do you do with that delicious, concentrated fond….?

20120309-181917.jpg

Below: …You de-glaze! Often, this is done with wine. The liquid helps you dissolve the flavorful bits and scape them off the pan. Wine is also very flavorful, a bit sweet, and acidic, all of which contribute to the final flavor.

20120309-181826.jpg

Below: The browned squash returns to the skillet with the wine and some stock. I tossed in a bit of rosemary, thyme, and sage. Into the oven at 375 degrees for 22 minutes.

20120309-181831.jpg

Below: Post braise. I returned the pan to the stove top and reduced the stock further a bit, which was a suggestion by Chef Rosa. You can see the liquid has reduced.

20120309-181836.jpg

Squash Soup

I had a few pieces of squash left over from the oven braise, so I figured I’d make a scratch soup. I only had enough squash for one serving, but why waste it?

Here’s what I put together, roughly doubled in case you want to try at home and share with one other person:

Two large handfuls of squash cubes, skinned
Light-flavored vegetable stock (I would guess about 1.5 cups to start with)
A few cubes of apple
3″ piece of fresh rosemary
3 sprigs of thyme
1 leaf of sage
salt and pepper to taste

Simmer the stock hard (it will be giving off a steady steam) until it reduces by 30% or so. If you don’t have time for this, just use 1 cup of stock instead of 1.5 cups.

I reduced the stock a bit by simmering heavily for 10-20 minutes, braised the squash and apple in a saucepan using the stock (I could have browned the squash first in oil, but didn’t) with the herbs until it was soft, mashed the squash up, added more stock to achieve a nice consistency, and salted/peppered to taste. The result was a sweet and thick, squashy, herby soup, with a rustic appearance because I used a potato masher to soften the squash and I did not wrap the herbs in cheesecloth – I just tossed them in. Also, there were some dark orange bits from the center of the squash that lent some color. Overall, a lovely dish to look at.

20120309-181841.jpg

I also toasted the squash seeds in a pan on the stovetop while the squash braised. They taste quite a bit like peanuts, and they’d make an excellent garnish for the soup, with perhaps a few leaves of herbs.

20120309-181846.jpg

Grains Class and More

Tuesday’s class involved a presentation on nutrition followed by a session where we used the rice cooked on Monday to create more complete dishes.

Demo Kitchen – Nutrition Lecture

A major focus of the program at The Natural Epicurean is healthful eating that complements and enhances wellness. So, a lot of our time in the demonstration kitchen will involve learning the nutrition principles of various schools of thought. Radhia Gleis, an Austin-based Certified Clinical Nutritionist, will be leading us through exploration of much of the nutrition theory. One thing I love about Radhia is that she does not subscribe to the “party line” of Western nutrition, yet she has a firm grasp on the science and physiology of nutrition. Like me, she has a healthy distrust of the nutrition establishment and a penchant for treating each person as an individual rather than a sample case from a corporate-funded research study.

Below: Radhia Gleis.

20120306-162246.jpg Continue reading

Going with the Grain

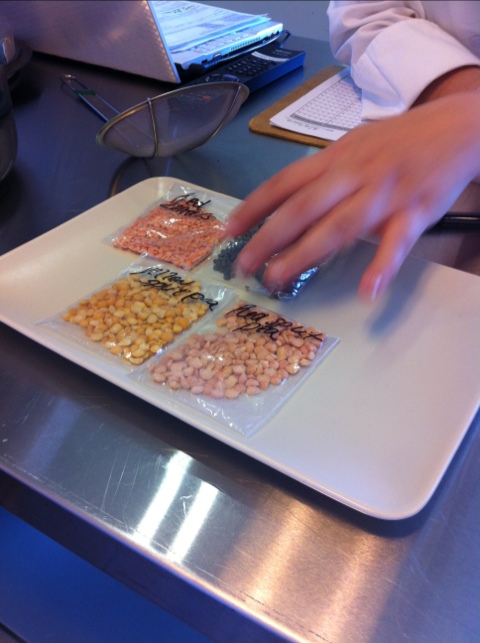
The topics for Monday were grains, herbs, and spices.
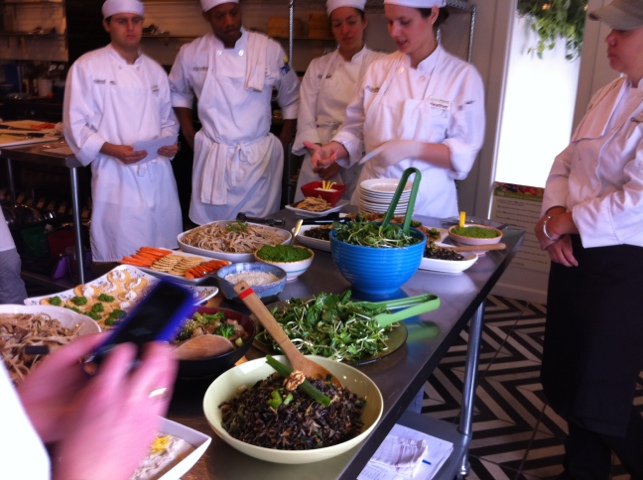
Demo Kitchen

Chef Rachel Zierzow presented to my group Monday morning on herbs and spices. She definitely whet my appetite for getting a spice grinder after she toasted spices for garam masala and ground them in a Krups spice/coffee grinder. The result was a much more aromatic powder than my garam masala at home.

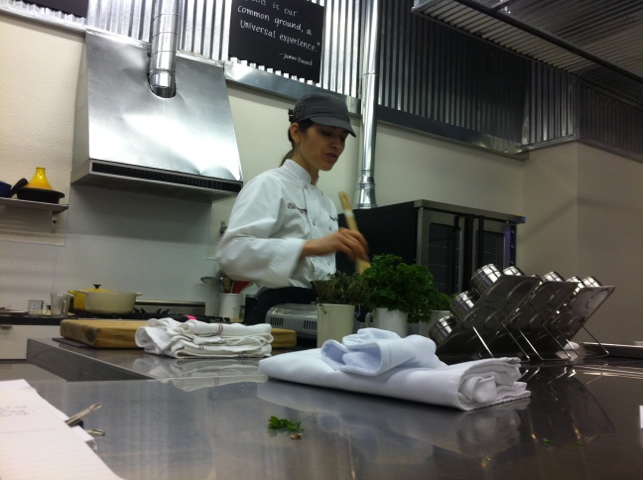
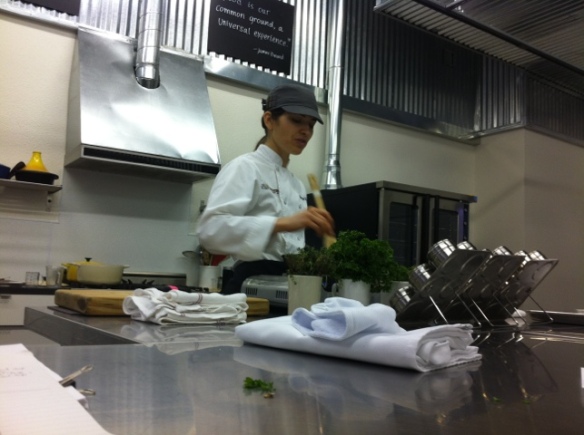
Below: Chef Rachel gets all herby on us.

20120306-085400.jpg

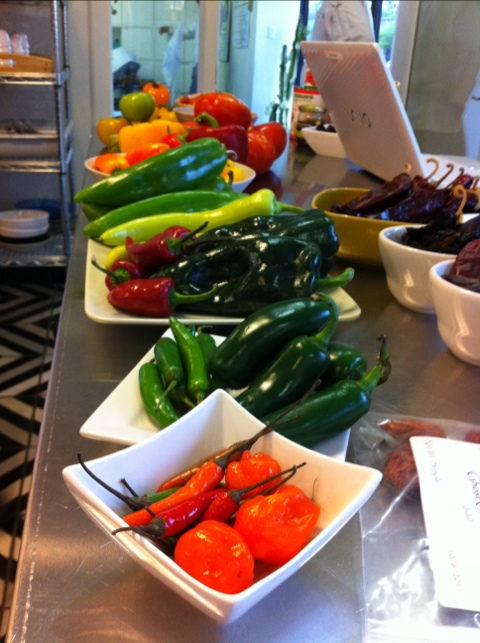
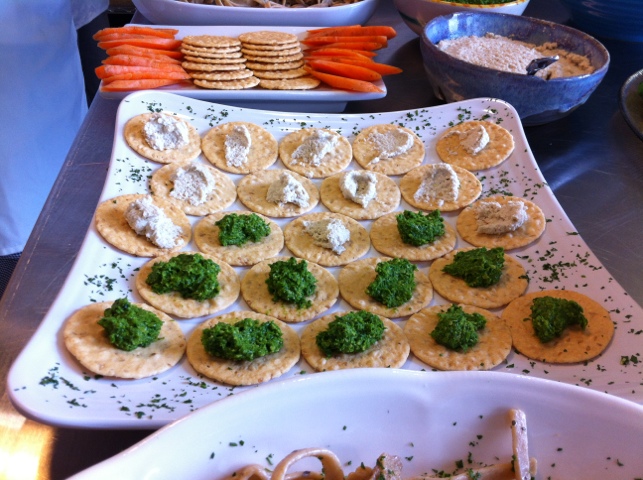
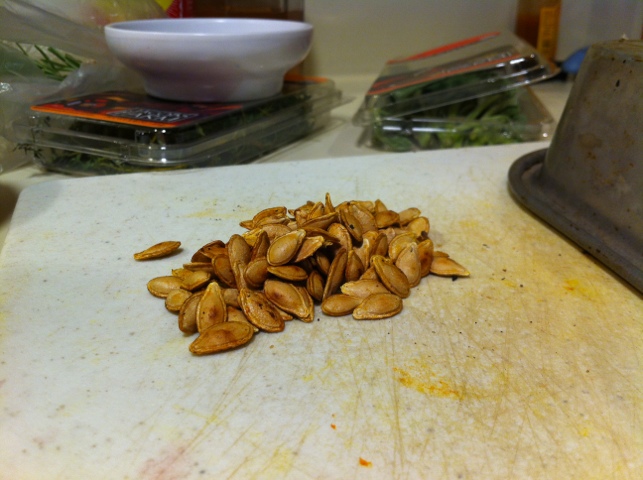
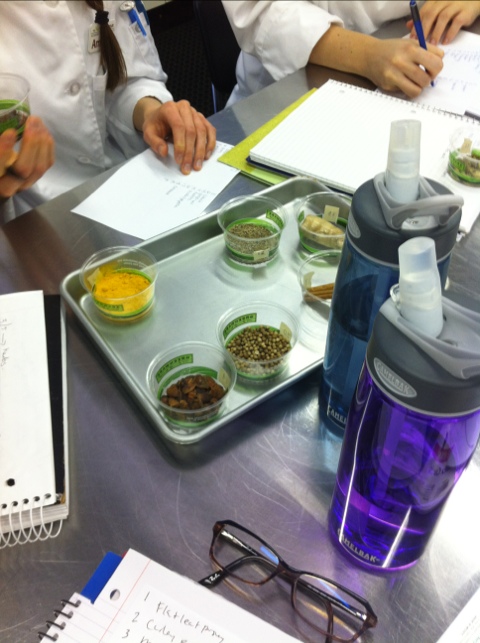
Below: We got a pop “quiz” on herbs and spices. It was fun to see if I could identify all of them by sight and smell alone.

20120306-085408.jpg

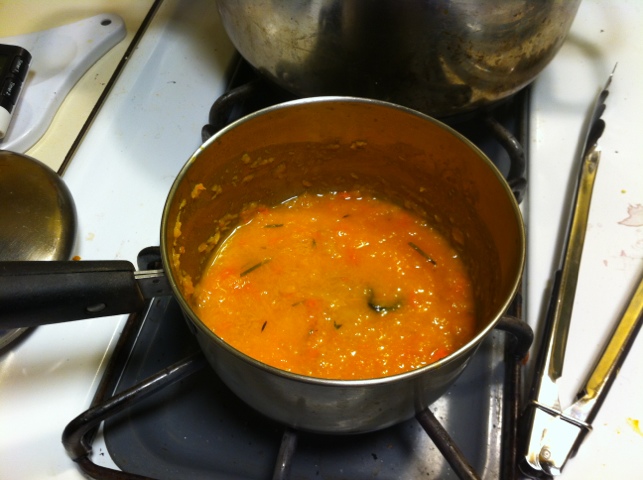
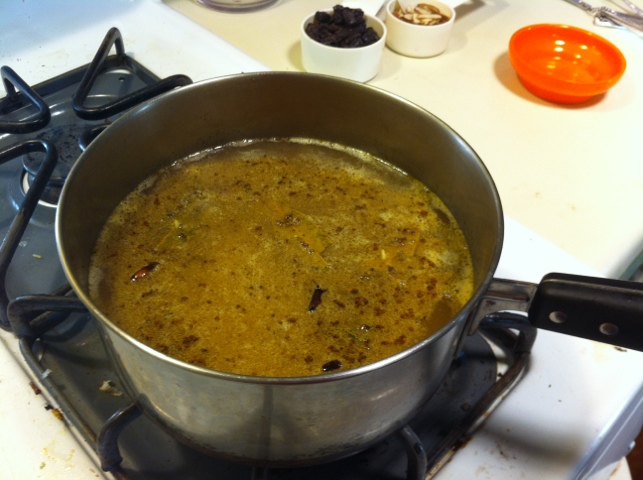
Below: A carrot soup with Garam Masala prepared by Chef Rachel in the demonstration kitchen. It was subtly sweet with warming spices of the garam masala and blended smooth in a Vita Mix.

20120306-085428.jpg

Lab Kitchen

In lab kitchen, we made rice pilaf, brown rice, white rice, and risotto. Rice, you ask? Isn’t that super simple and boring? No way! Rice is very versatile. You can add all kinds of stuff to it and pair it with all kinds of foods and flavors. There are many types of rice with different flavor profiles – jasmine, basmati, wild rice, and many others hold aromas and flavors that go far beyond your grandma’s white rice. I even cooked some black Forbidden rice recently.

Here’s another great thing about rice, and especially brown rice – it’s minimally processed. Your body has to work a bit harder to break it down. You also can’t eat as much of rice as you can eat of bread, for example, before you realize you are full. Do yourself a favor – cut the amount of bread you eat by half and use rice as your main carb.

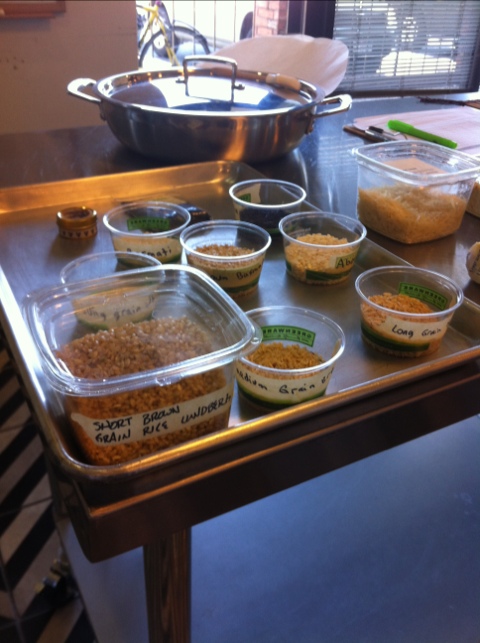
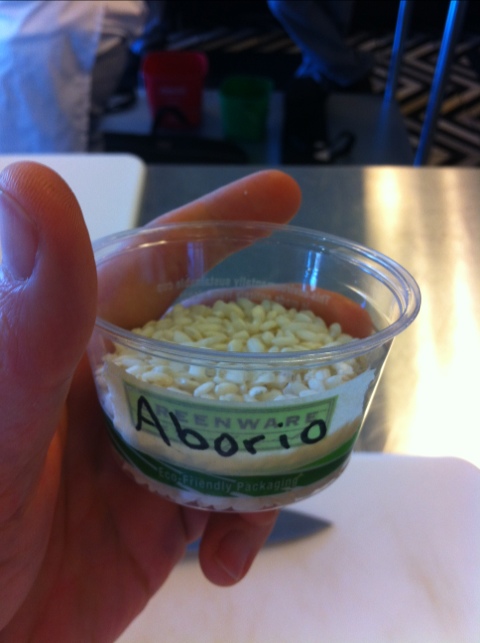
Below: Varieties of rice we reviewed in lab kitchen.

20120306-085028.jpg

20120306-085037.jpg

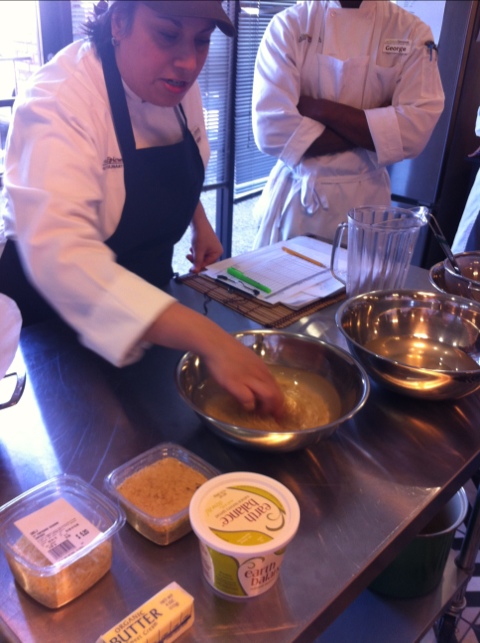
Below: Chef Alex shows us how to rinse rice before cooking to wash off the starchy bits.

20120306-085043.jpg

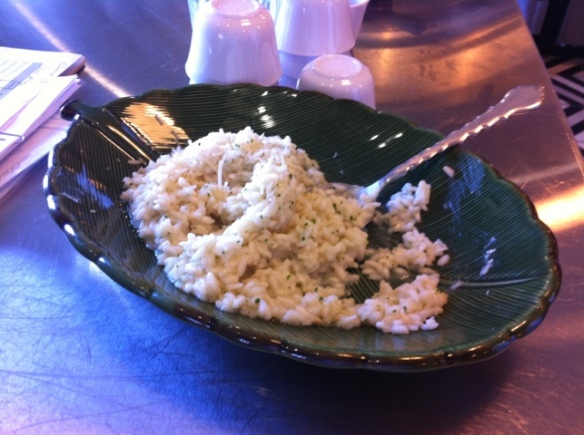
Below: Some risotto that Chef Alex cooked. She wanted to offer us the chance to eat a traditional risotto with butter and parmesan cheese. When I made the risotto, I made it with Earth Balance and nutritional yeast, since I don’t eat dairy for allergy reasons.

20120306-085054.jpg

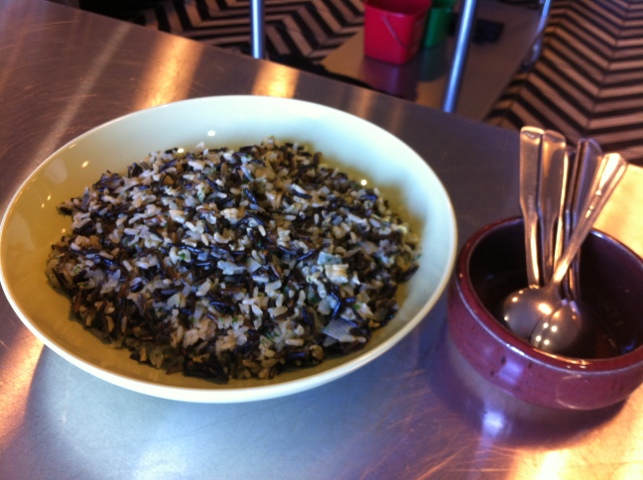
Below: Some wild rice cooked by a student group during lab.

20120306-085100.jpg

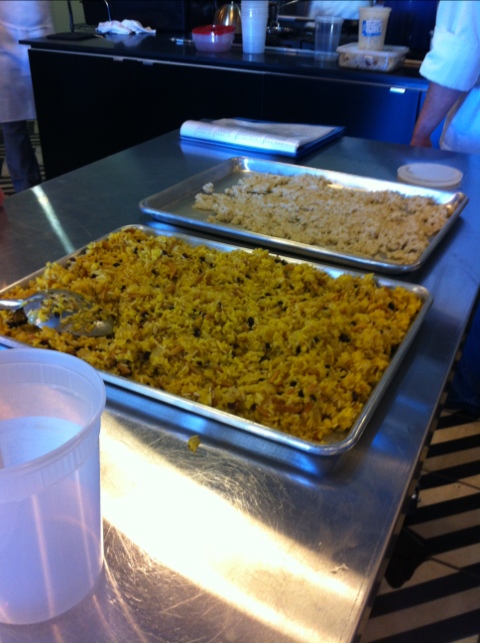
Below: Rice cooling on sheet pans. It’s important to cool hot food quickly when you’re going to store it in a cold state.

20120306-085108.jpg

At Home: Pulau

I wanted to practice a bit at home, so I pulled out a recipe for Indian Pulau from my “recipes to try” folder, which is way too thick these days. Pulau is a rice dish made from basmati rice and featuring garam masala. There are many variations on pulau. I got my recipe from the 1998 Best of Gourmet, which featured many Indian recipes in the special focus section. Thanks, Austin Public Library!

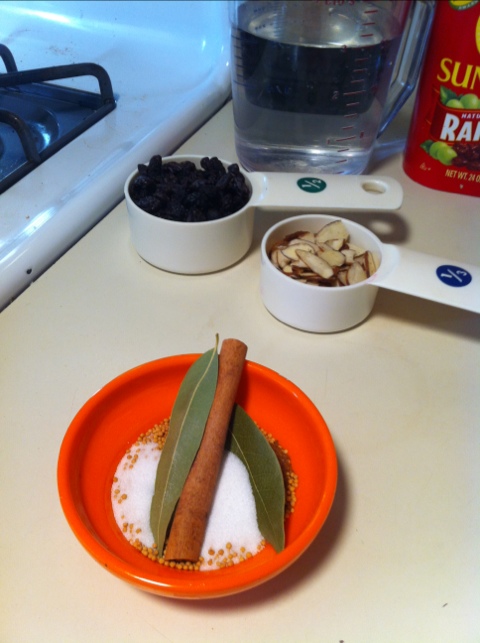
Since I don’t have a spice grinder – yet – I had to use a jar of garam masala rather than make my own.

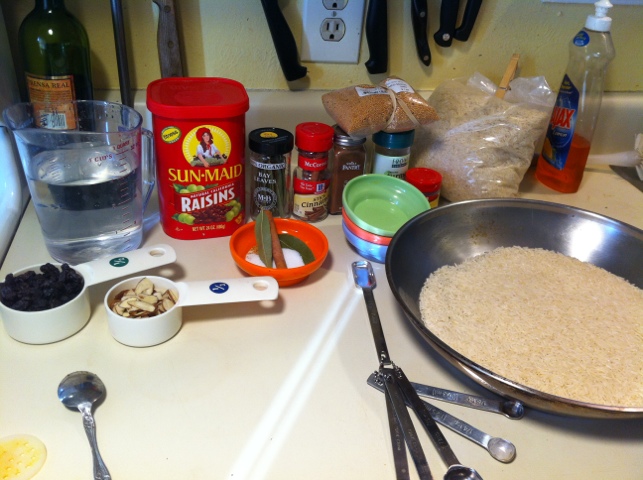
Below: My mise en place for pulau.

20120306-085118.jpg

20120306-085128.jpg

Below: The recipe called for sauteing the spices, then adding the rice to the spices and oil. Only then would you add the water.

20120306-085134.jpg

20120306-085144.jpg

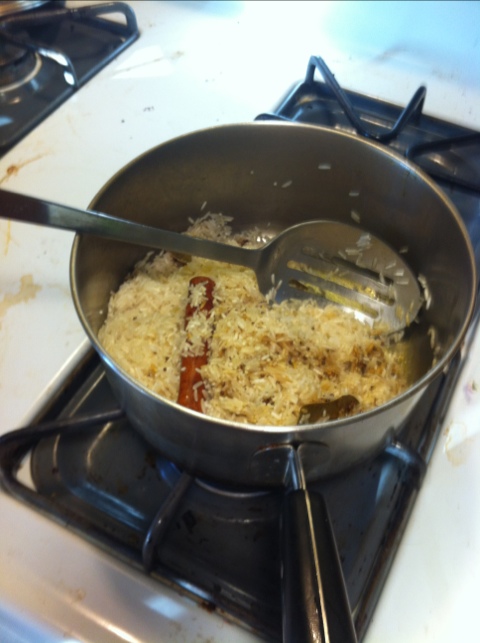
Below: I tossed in the cold, dry raisins and let the rice sit for five minutes. After that, the raisins were plumped up a bit, and were moist and warm. Good stuff!

20120306-085150.jpg

Below: The finished product. Aromatic, mysterious, colorful, with textural and color variations. This is not the white rice I grew up with!
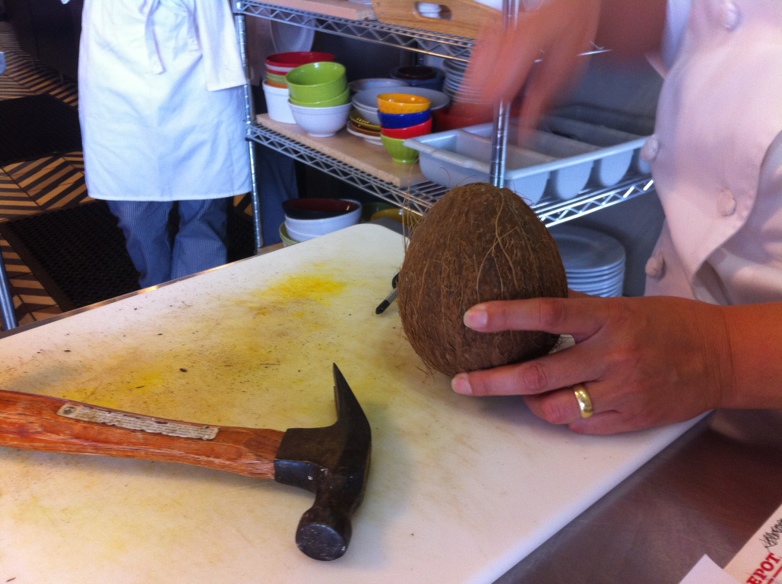
20120306-085156.jpg